Friday, January 30, 2009

Add an airhorn to your model


How to Make a Medicine Bottle Air Horn


from wikiHow - The How to Manual That You Can Edit

An air horn brought from the store will only last as long as the compressed air inside the can does, but with a few household items, you can easily make your own air horn that will last quite a long time!

Steps


  1. Using a heated screwdriver will make it easier.Poke a hole in the cap, side, and bottom of the medicine bottle. Size does not matter, except for the hole on the bottom, which should be large enough for a drinking straw to fit snugly into.
  2. Take the cap off the bottle. Cut a piece of a balloon and stretch it over the top of the bottle. Secure the balloon with a rubber band. Replace the cap on the bottle.
  3. Cut another piece of a balloon and stretch it over the bottom of the bottle. Secure it with a rubber band.
  4. Poke the straw through the hole on the bottom. It might be helpful to first poke a hole in the balloon.
  5. To use, blow into the hole on the side.


Video


Tips


  • Use a heated screwdriver to make poking holes in the bottle easier.
  • If it's not working, try moving the straw up and down.
  • The straw should be longer than the bottle itself.
  • The larger the straw (in circumference), the louder the sound will be.
  • Making the hole on the side larger will make it less of a strain on your cheeks to blow into it.


Warnings


  • Do not use this air horn near anyone's ears; it could cause hearing damage.
  • If using a heated screwdriver, exert caution not to burn yourself or to breathe in the fumes of the plastic.
  • Exercise appropriate caution when using edged tools such as scissors.


Things You'll Need


  • Medicine bottle
  • Scissors
  • Balloons
  • Drinking straw
  • Rubber bands


Printer Friendly Version


Article provided by wikiHow, a wiki how-to manual. Please edit this article and find author credits at the original wikiHow article on How to Make a Medicine Bottle Air Horn. All content on wikiHow can be shared under a Creative Commons license.

Tuesday, January 27, 2009

Brick In The Yard Mold Supply - YouTube

Brick In The Yard Mold Supply - YouTube

It is our goal to provide you with the best materials for your project. BITY Mold Supply is proud to offer trusted brands such as Polytek RTV rubbers & plastics, Accu-Cast Alginates, Sculpt Nouveau Patinas & Metal Coatings, Premeire Products Inc. (Skin Illustrator Makeup & Telesis adhesives and removers), Chavant Clays, Monster Clay, Protolina Clay, and Hot Wire Foam Factory tools. Our products are used extensively for ornamental plaster reproduction, art bronze casting, special makeup effects, prototyping, product development, displays, concrete casting, and cast stone production. Advances in silicone formulation have resulted in several easy to use 1:1 mix ratio silicones, as well as many easy to use polyurethane mold rubber products. BITY also is proud to offer the most popular special effects material around, PlatSil Gel-10 and PlatSil Gel-00. Learn more about Gel-10 and our other products on our YouTube channel. Call us today to find out which material is best for your mold making or casting application.
Welcome to our youtube page! Brick In The Yard Mold Supply was started in 2004. We opened our shop to bring a full selection of molding, casting, and SPFX supplies into the Dallas/Ft. Worth area as well as the technical support to go with it. In 2006 we began using youtube to offer visual answers to common customer questions. Our youtube page is now over 7 years old and has become a virtual library for the mold making and SPFX community.
We keep our page current with video tutorials detailing all aspects of mold making and casting as well as special effects techniques. Visiting the Dallas area? stop by our physical store or shop online at www.brickintheyard.com

Monday, January 26, 2009

very good figure making class

myLargescale.com - Articles - All About Your Garden Railroad & G Scale Trains
myLargescale.com Articles

Modeling Passenger Operations
Chapter I Chapter II Chapter III Chapter IV

Figure Making Class
Chapter I Chapter II Chapter III

Live Steam Class
Chapter I Chapter II Chapter III Chapter IV


from RCGroups forum:
If you go to my large scale, a large scale model railroad site and look in their articles file ( http://archive.mylargescale.com/articles/articles/
) you will find a very good figure making class where the author does
use the aluminum armature and goes in depth on the figure making
process with Sculpey.


Andre

Portland Oregon

Wednesday, January 07, 2009

Model Jonesport Lobster Boat Lines circa 1930-1940


Three of Dave Mainwaring's Jonesport lobster boat display models, plank on rib, early construction stages. One in the background is 32+ inch and two hulls in foreground are 17 1/2 inch. Future models will be built with transoms installed with the planking. They were built over male molds.


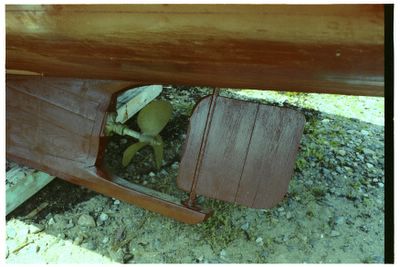
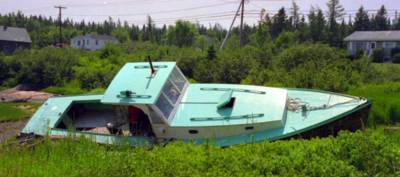
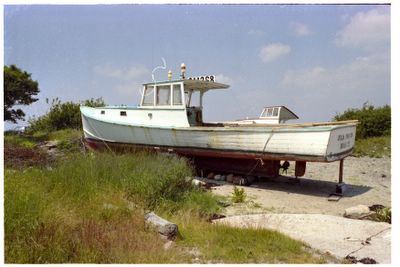
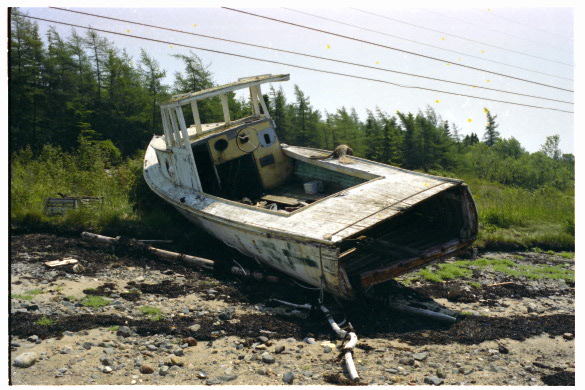
There are abandoned vintage Jonesport style hulls scattered on the shores. Driving through the area from Corea to Damariscotta, Maine you will sold wooden lobster boats passing away in driveways and fields. You will find some of these boats advertised as 1940's lobster boat available free on Ebay. You will also discover as many cabin and deck arrangements as there a hulls. I have photographed many of boats riding at anchor so model builders can see one t use a guide. http://fishingboats.blogspot.com/

Dave M.


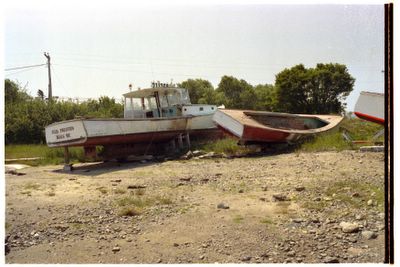
In my search for early Jonesport lobster boats I surface a picture of the bone yard in Jonesport Maine.
Boneyard in Jonesport